How to Create Thumbnail images-Blogger Hack
In a nutshell, the hack takes advantage of the Page Element's Link List and turns it into a Thumbnail Picture List element. As you might know, the link list allows the page owner to quickly add a bunch of urls for quick links to other interesting sites. My hack takes advantage of the GUI interface to quickly add/erase/arrange these links but pushes it further to upload image addresses instead.
Here are the steps to setup this hack. You are also required to know some HTML & CSS to further enhance this hack to make it your own unique version of it.
First, go to Template->Add Elements, then select sidebar's Add Page Elements. Select Link List option at top right corner: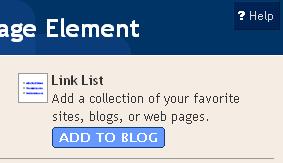
Next, add some sample pictures: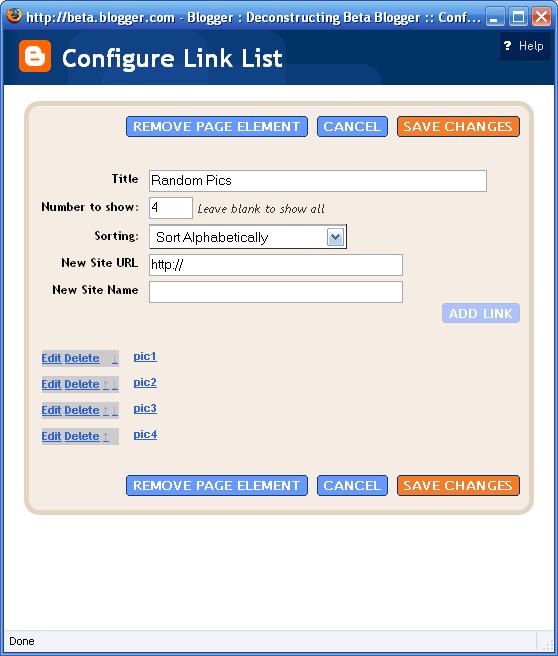
Then, drag-n-drop the newly created link-list from sidebar to post body area. (You can always move it back later.)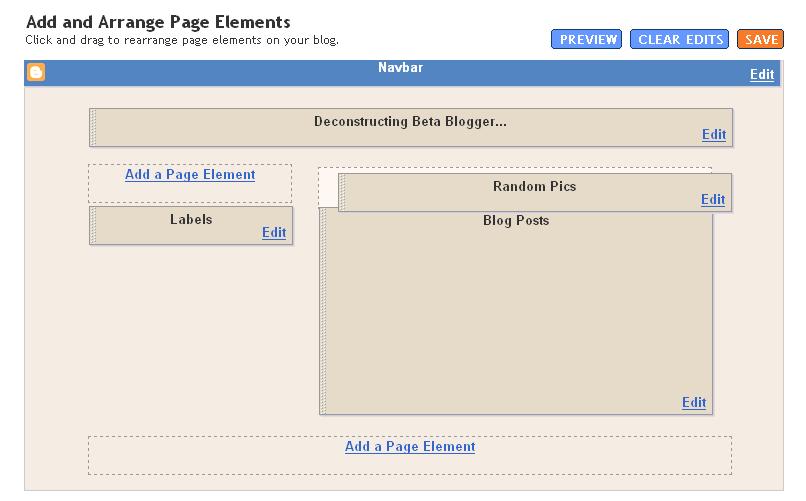
Go to Template->Edit HTML. Make sure to check the Expand Widget Template check box. Then look for the LinkList1 widget. It should be in front of all the other widgets, and right after the CSS portion of the code.
Then replace that widget with this one, make sure they have the same name (LinkList1):
<b:widget id='LinkList1' locked='false' title='Random Pics' type='LinkList'>
<b:includable id='main'>
<b:if cond='data:title'><h2><data:title/></h2></b:if>
<div class='widget-content'>
<div class='hoctro_spacer'>
<b:loop values='data:links' var='link'>
<a expr:href='data:link.target' onblur='try {parent.deselectBloggerImageGracefully();} catch(e) {}'><img alt='' border='0'
expr:src='data:link.target' height='100' style='display:inline; margin:0px auto 10px; ;cursor:pointer;' width='100'/></a>
</b:loop>
</div>
<b:include name='quickedit'/>
</div>
</b:includable>
</b:widget>
As you can see, I use the same code that Blogger provides when it successfully upload an image as a mean to show the image itself. You can use whatever it best fits your purpose.
<a expr:href='data:link.target'
onblur='try {parent.deselectBloggerImageGracefully();} catch(e) {}'>
<img alt='' border='0'
expr:src='data:link.target' height='100'
style='display:inline; margin:0px auto 10px; ;cursor:pointer;'
width='100'/>
</a>
Feel free to change this portion of code to anything you like. Just make sure the src and href parameters must be written as expr:src and expr:href respectively. This is an undocumented coding element, but I think that's the way the Beta's interpreter knows that it is an expression (to evaluate.)
Hope you will enjoy this new hack. Please give me your feedback.
[Thanks Hoctro.]
By Admin n E.K